
Imagine this: you’re ready to dive into the colorful world of your favorite Nintendo Switch game, but the tiny screen just isn’t cutting it. It’s time to unleash the full power of your gaming experience by connecting that little console to your big-screen TV. But wait—how does one transform their living room into a gaming paradise?
How to Set Up Your Nintendo Switch for TV Use
Connecting a Nintendo Switch to a TV enhances the gaming experience significantly. Follow these steps to set up everything correctly.
Required Equipment
To connect a Nintendo Switch to a TV, gather essential equipment. Obtain the Nintendo Switch console, a compatible television, and a power adapter. Use the HDMI cable included with the console for the connection. Confirm that the TV has an available HDMI port. Ensure all equipment is in good working condition before starting the setup process.
Location Setup
Choose a suitable location for optimal gameplay. Position the TV at a comfortable height to avoid neck strain. Ensure enough space around the console for ventilation. Factors such as lighting can affect visibility, so avoid direct sunlight on the screen. Arrange seating to provide a clear view of the TV while maintaining access to controllers.
Connecting Your Nintendo Switch to the TV

Connecting the Nintendo Switch to a TV enhances the gaming experience by providing a larger display. Follow these steps to set it up effectively.
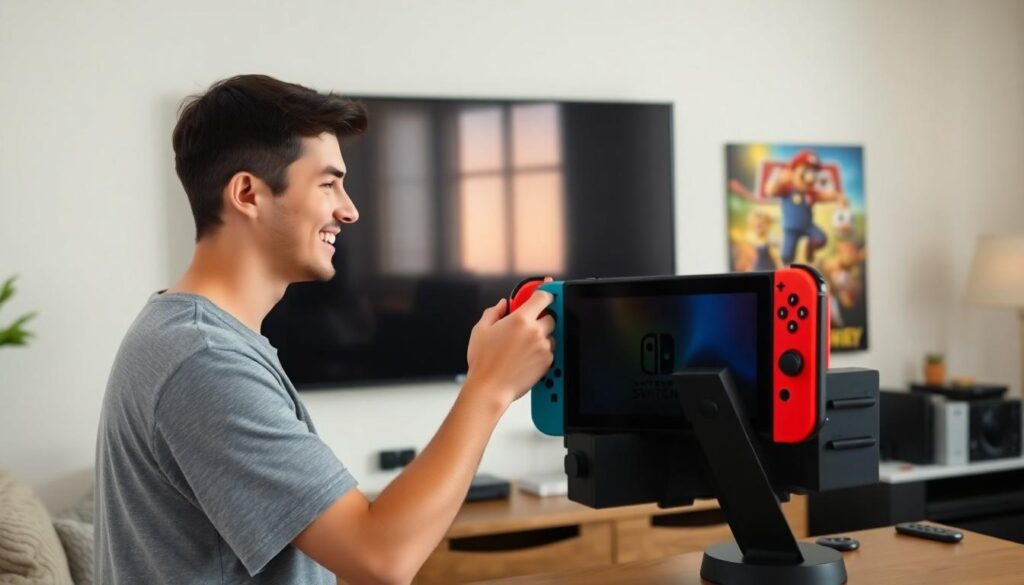
Using the Dock
Utilizing the dock provides a convenient and efficient way to connect the console to the TV. First, place the Nintendo Switch in its dock, ensuring it fits snugly. Next, connect the dock to the TV using an HDMI cable, plugging one end into the dock and the other into the TV’s HDMI port. Power the dock by connecting the included AC adapter to an outlet. Afterward, switch the TV to the correct HDMI input to see the Nintendo home screen. This method delivers optimal performance and charges the console simultaneously.
Direct Connection Options
Directly connecting the Nintendo Switch to a TV is another viable option, especially for portable gameplay. Instead of using the dock, players can use a compatible HDMI cable and an adapter to link the console directly to the TV. Ensure the Nintendo Switch is in handheld mode, then connect the adapter to the console’s USB-C port. Plug the HDMI cable into the adapter and the TV. This method allows for quick play sessions and flexibility in gaming locations.
Configuring TV Settings
Configuring the TV settings ensures an optimal gaming experience with the Nintendo Switch. Proper setup enhances video and audio quality, crucial for immersive gameplay.
Input Selection
Selecting the correct input source on the TV allows the console display. Users often need to press the “Input” or “Source” button on the TV remote. Accessing the HDMI port connected to the Nintendo Switch guarantees smooth visuals. Many TVs label inputs (e.g., HDMI 1, HDMI 2) for easy identification. Navigating through the menu might differ by TV brand, so consulting the user manual is beneficial. Once the correct input is selected, the Nintendo Switch user interface appears on the screen.
Audio Settings
Adjusting audio settings ensures games sound vibrant and immersive. Users may need to explore the TV’s audio menu to set speaker output preferences. Enabling surround sound options enhances the gaming experience for some games. Connecting external speakers can further improve sound quality, adding depth to the gaming sessions. Increasing the volume on the TV to an appropriate level is essential, but users should avoid distortion. Ensuring the TV is on the correct audio output setting, like Stereo or Surround Sound, optimizes sound performance for gameplay enjoyment.
Troubleshooting Connection Issues
Check the HDMI cable connections. If the cable isn’t firmly connected to both the TV and the dock, the signal may fail. Inspect for any visible damage on the HDMI cable as defects can disrupt the video transmission.
Verify the TV input setting. The input source must match the HDMI port to which the console is connected. Access the TV remote and cycle through the input options until the Nintendo Switch display appears.
Restart the Nintendo Switch. Simply unplugging the dock from power for a few seconds, then reconnecting might reset the connection. Performing this step ensures that the console initializes properly.
Adjust the display resolution. Some TVs may not support higher resolutions. By accessing the console’s settings menu, users can try lowering the resolution to see if it resolves the issue.
Ensure the console is in the dock correctly. If not seated properly, the Nintendo Switch fails to connect to the TV. The console should click firmly into place when inserted into the dock.
Inspect the power supply. If the dock isn’t powered on, it can’t transmit a signal to the TV. Testing with a different outlet or checking the power adapter’s LED light for functionality can help confirm that it’s working.
Consider potential software updates. Outdated firmware can cause connectivity issues. Navigating to the system settings on the Nintendo Switch allows users to check for and install any available updates.
Review TV settings. Some televisions have specific gaming modes that enhance compatibility with gaming consoles. Users can explore their TV’s settings to enable these modes, improving connection reliability and performance.
Connecting a Nintendo Switch to a TV significantly enhances the gaming experience. By following the outlined steps for setup and configuration players can enjoy their favorite games on a larger screen with improved audio quality.
Taking the time to adjust TV settings and troubleshoot any issues ensures a smooth connection. With the right setup players can immerse themselves in vibrant graphics and engaging gameplay.
Transforming the living room into a gaming haven is just a few steps away. Embracing this setup opens the door to countless gaming adventures and unforgettable moments with friends and family.